Today we’re going over how to make a portable, one-stand, desktop YouTube setup for under $135 [check out the video version of this project HERE]
Before we dive into this I want to say this video and project were inspired by Caleb over at DSLR Video Shooter and Nate at Nate’s Film Tutorials who both somewhat recently made some similar videos. Now I have been tweaking my YouTube setup for awhile and those videos gave me the inspiration for this current setup, which I’ve been using it ever since.
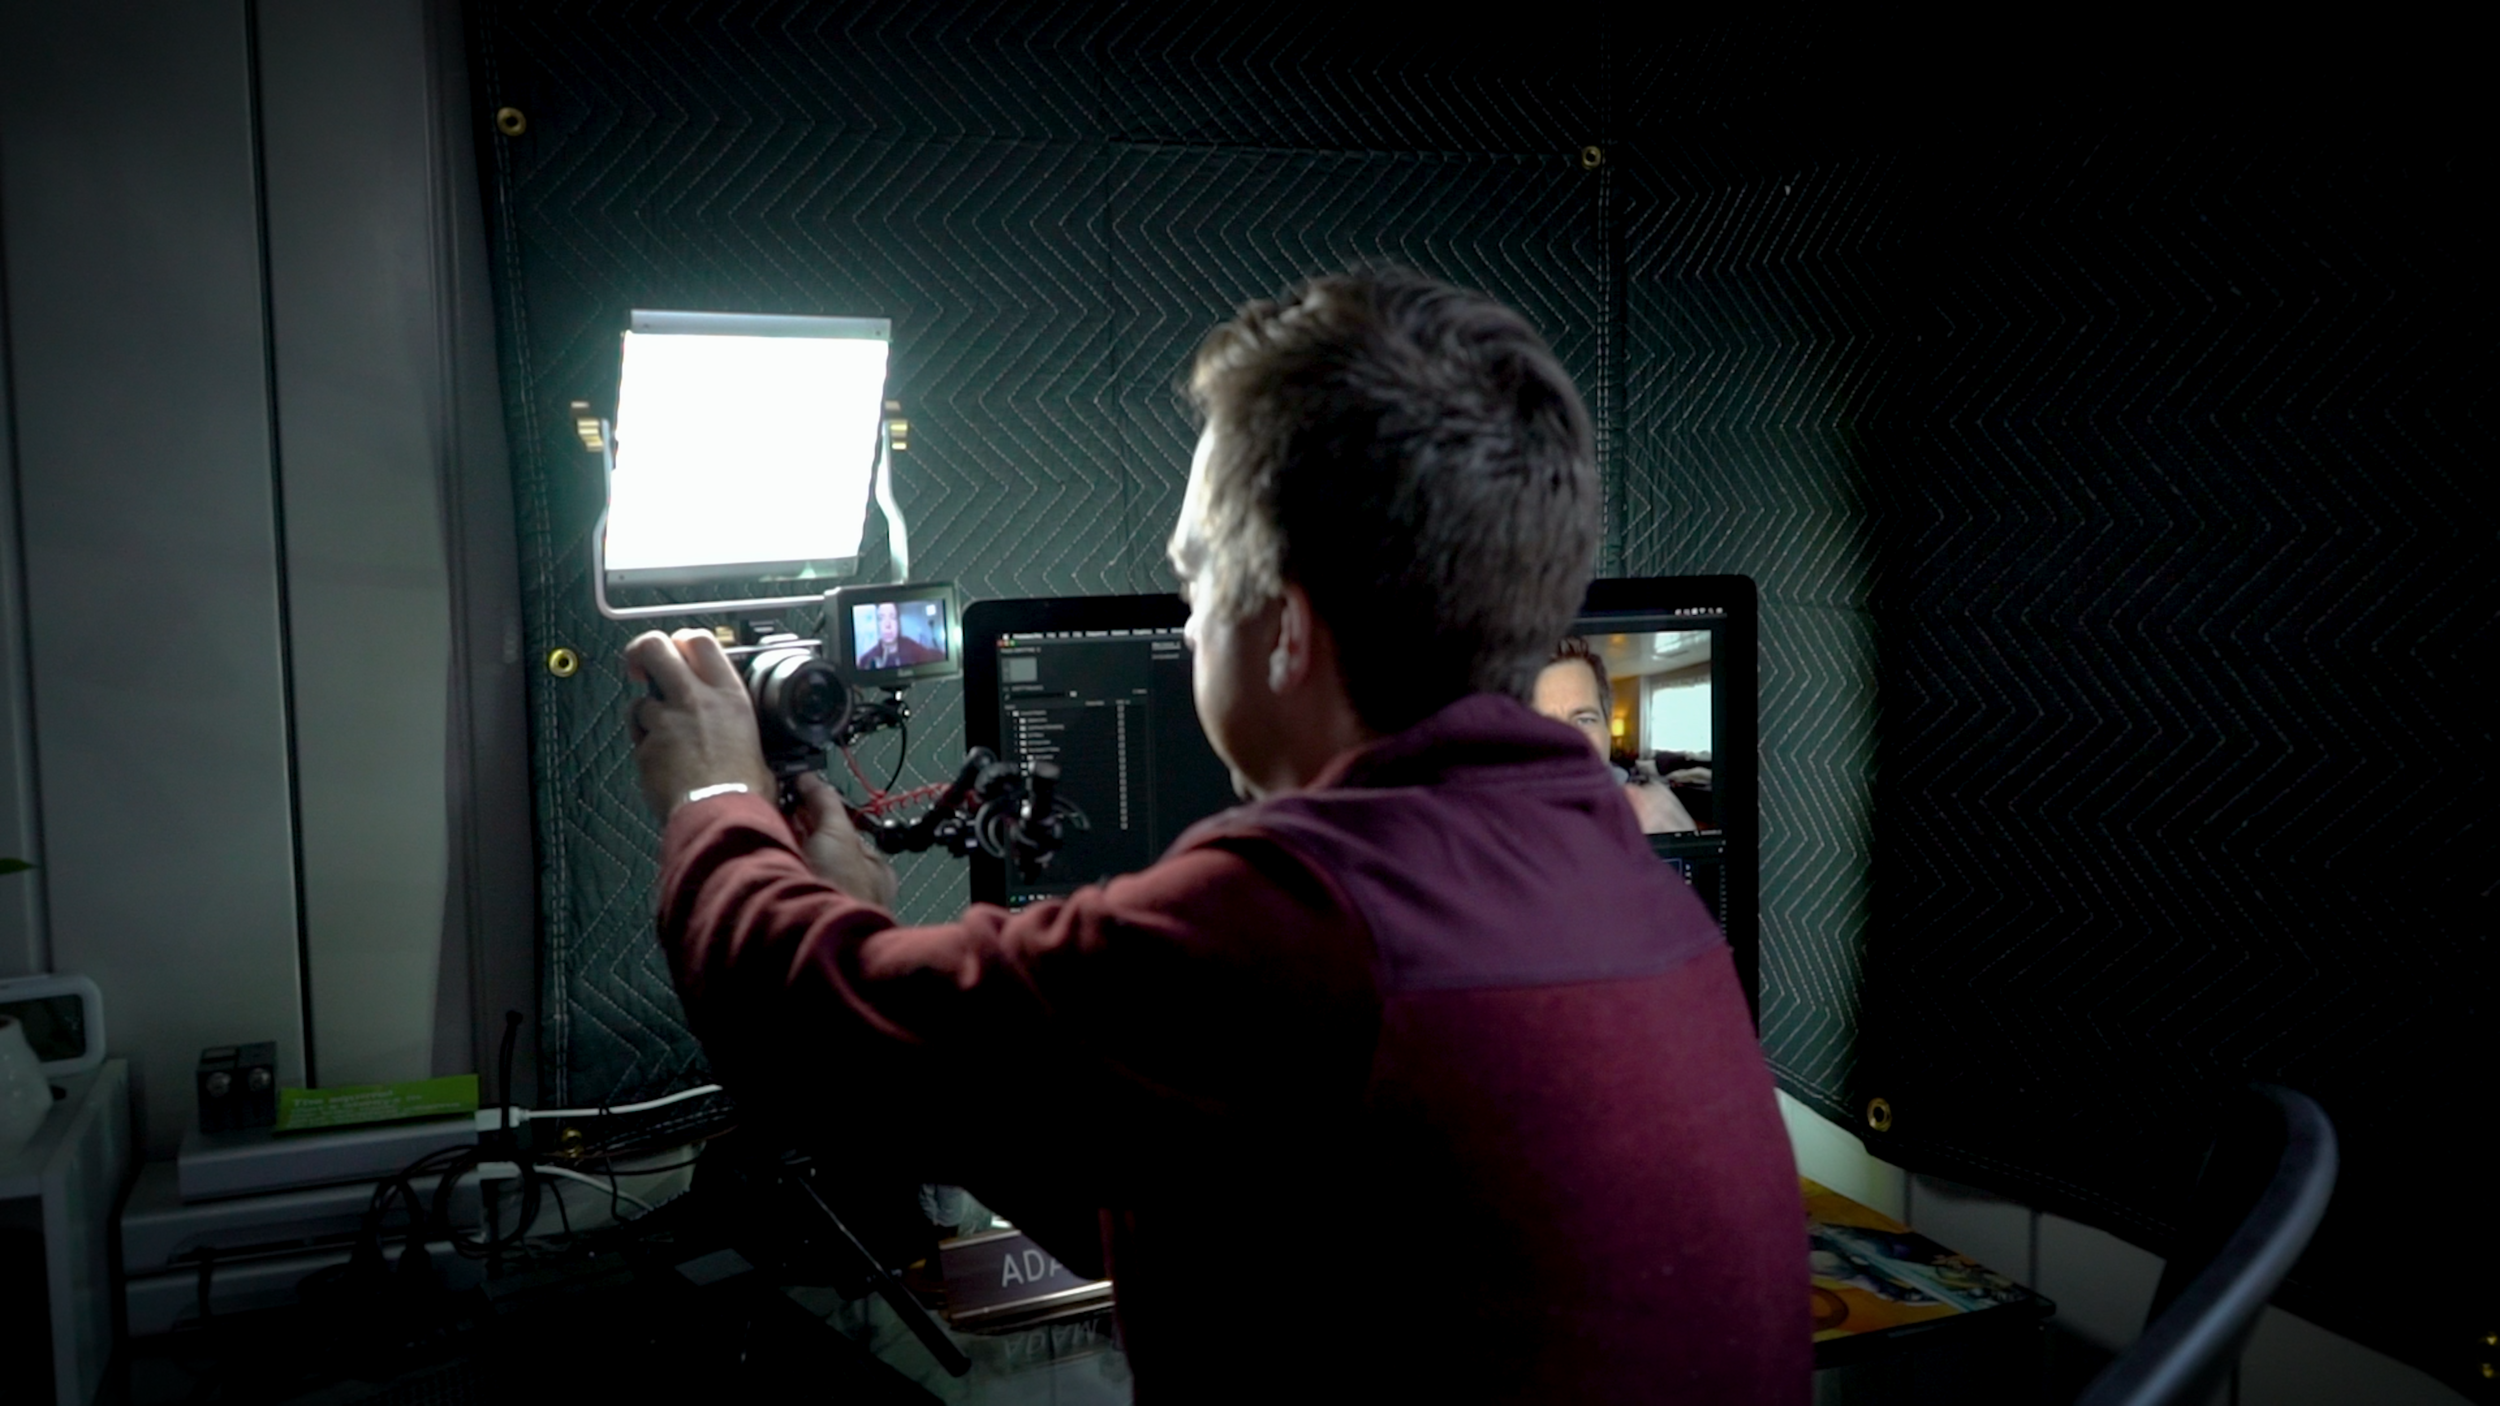
As I mentioned we’re going to making our own portable, one-stand, desktop YouTube setup and if you already have a camera and microphone this entire setup will cost you less than $135. Some things I think make a good setup are ease of use, flexibility, cost, and functionality. One of the biggest issues I had with creating YouTube videos early on was how much time it took me to get everything set up, and then when I needed to film in a different spot in my studio or around my house I needed an entirely different setup, and I just found that the hassle really kept me from making the best use of my time and ultimately kept me from making as many videos as I wanted. The quicker and easier it is to make videos the more you’re going to want to make them, the more you’ll be able to make, and ultimately that’s a big part of success when it comes to making things like YouTube videos. This setup is built around a single, mini light stand but you could use the same principles and utilize a small tripod or regular sized light stand that you already have, and you can use pretty much any phone, camera, or microphone with this setup, which means that as you get better equipment or additional gear you can simply add it into the mix. So let’s build this thing.
COMPONENTS (including some optional ones):
SmallRig nanoclamp and articulating arm: https://amzn.to/2uxtSg1 - $13
Neewer 32” mini light stand: https://amzn.to/2Ndjj8A - $20 for 2
Neewer bi-color panel light: https://amzn.to/2R8Y098 - $56
Neewer 12” articulating arm: https://amzn.to/2R2oRUA - $15
Rode VideoMicro: https://bhpho.to/2uuadh1 - $55
Fotasy Arca Swiss plate: https://amzn.to/2QGvXyX - $13
Sony A6400: https://bhpho.to/3077KVL - $900
Ikan VL35 Monitor: https://bhpho.to/35FDn9S - $200
Impact 5lb filled sandbag: https://bhpho.to/2FBXHi3 - $19
Tripod and Stand adapter kit: https://amzn.to/2t4jThS - $10
BUILDING IT:
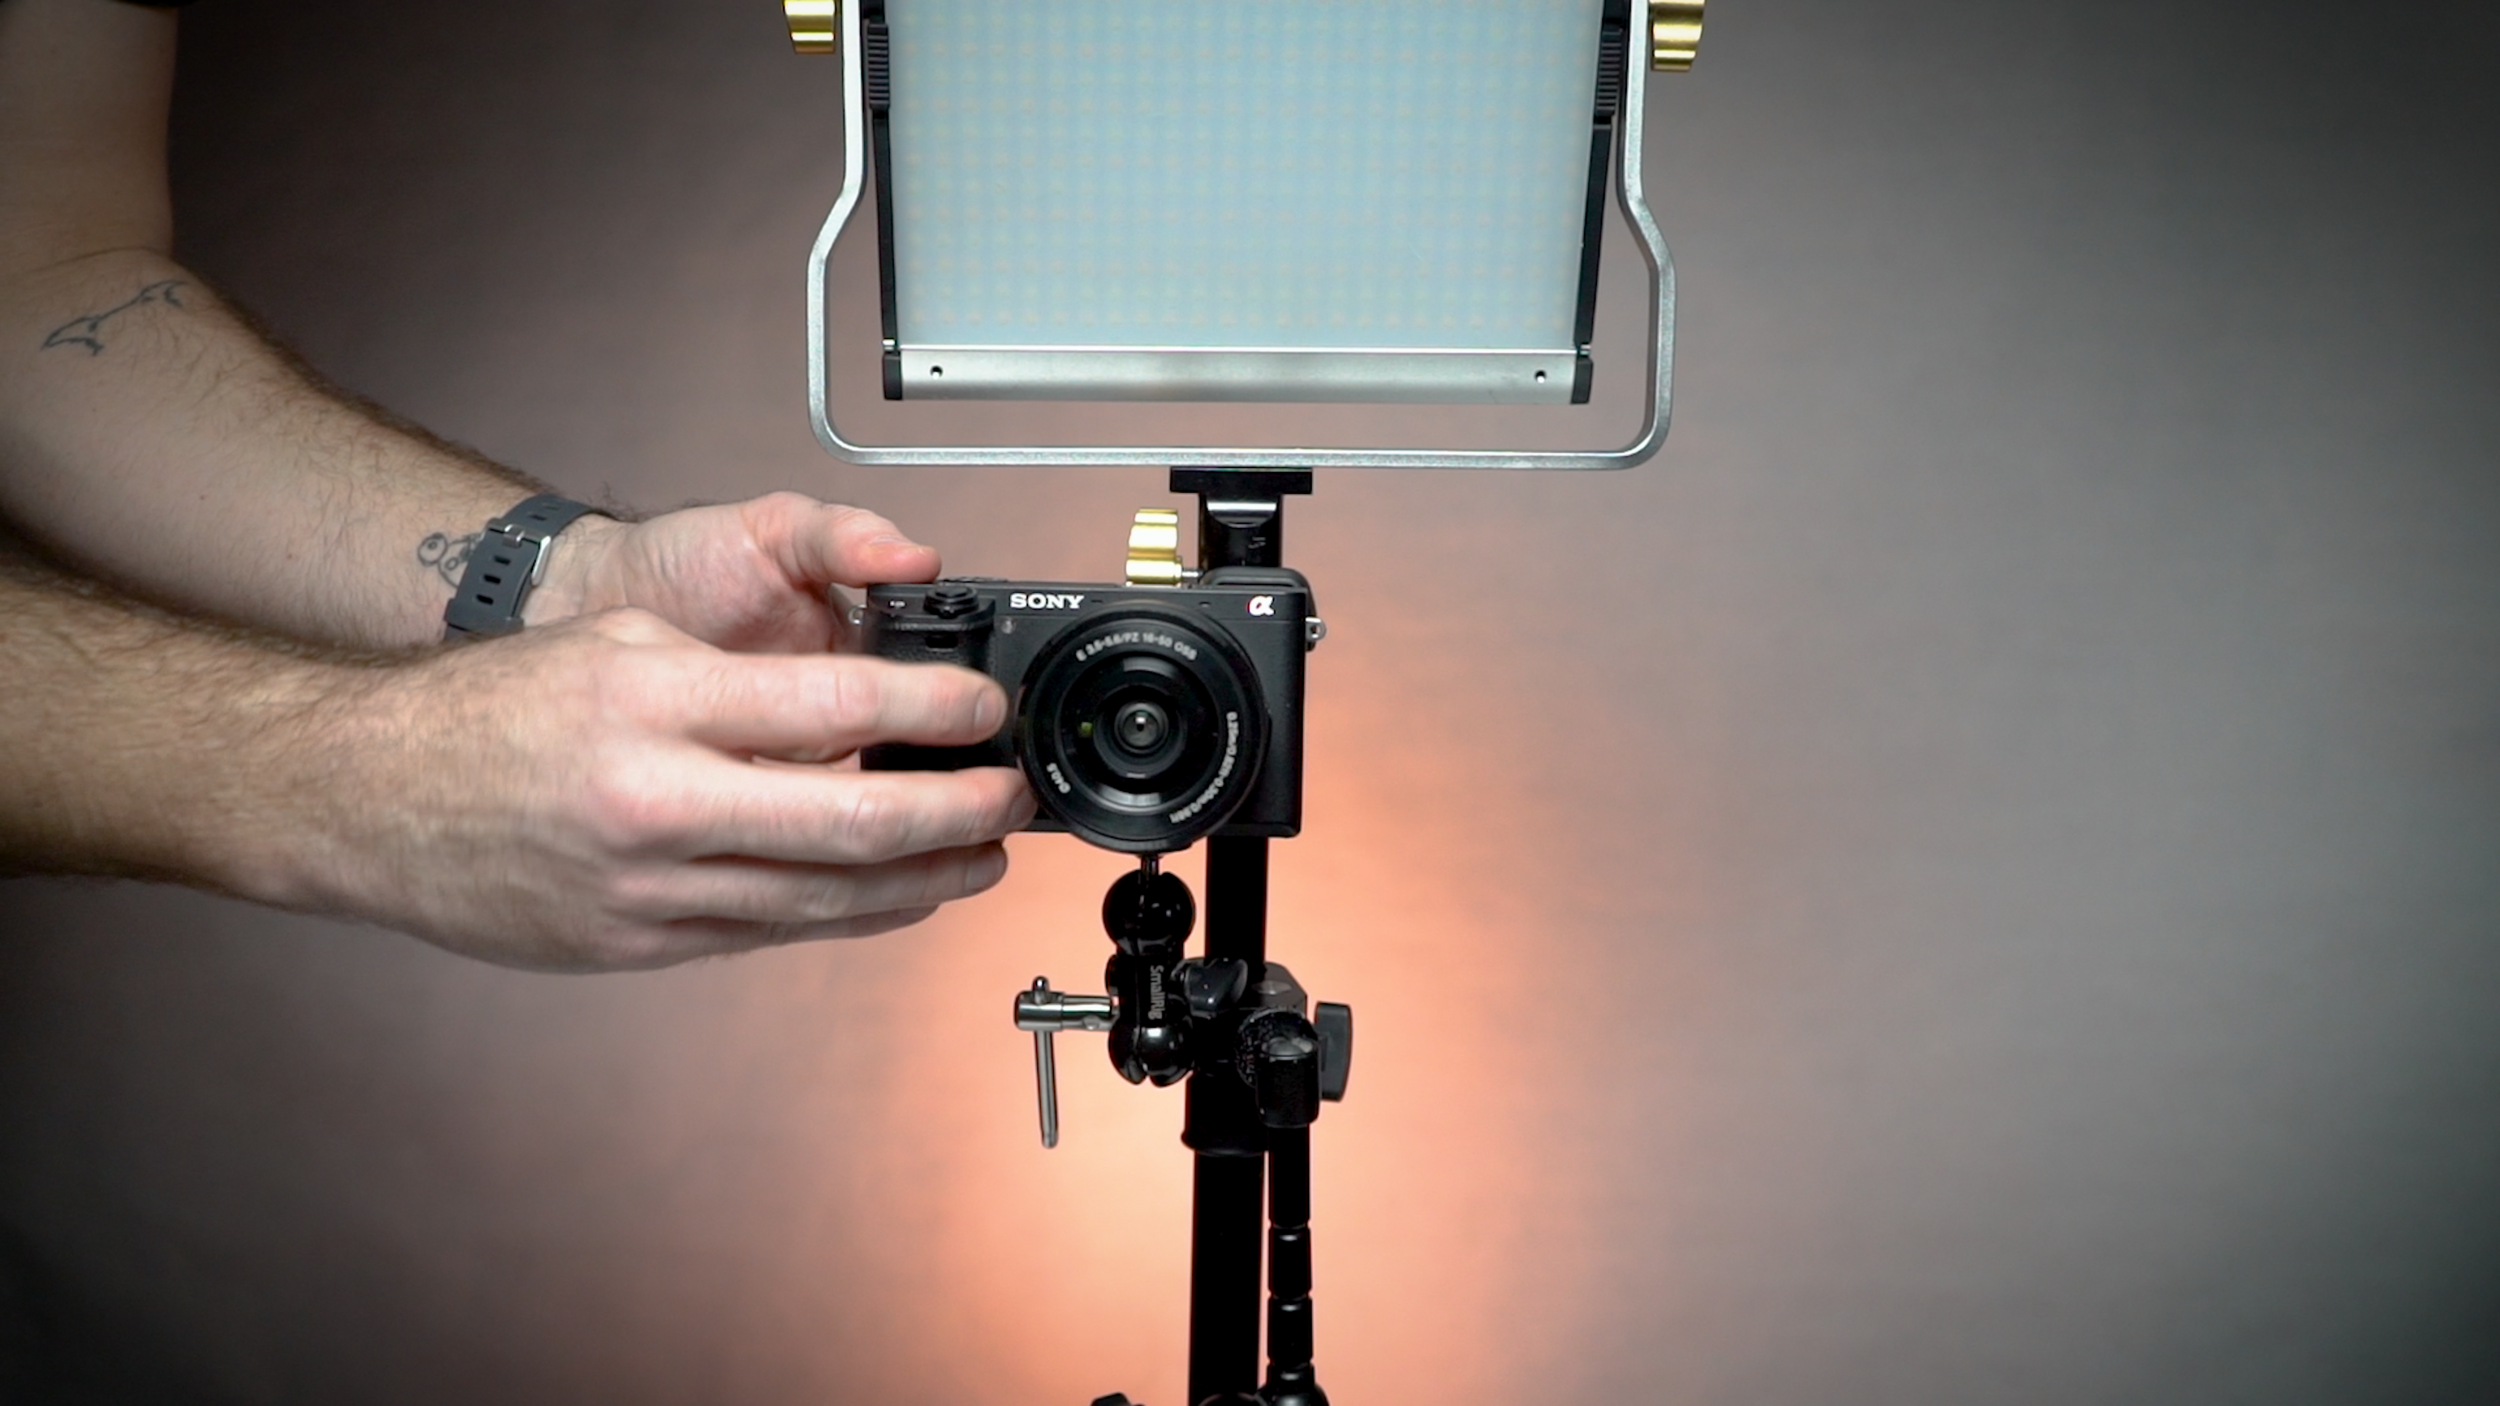
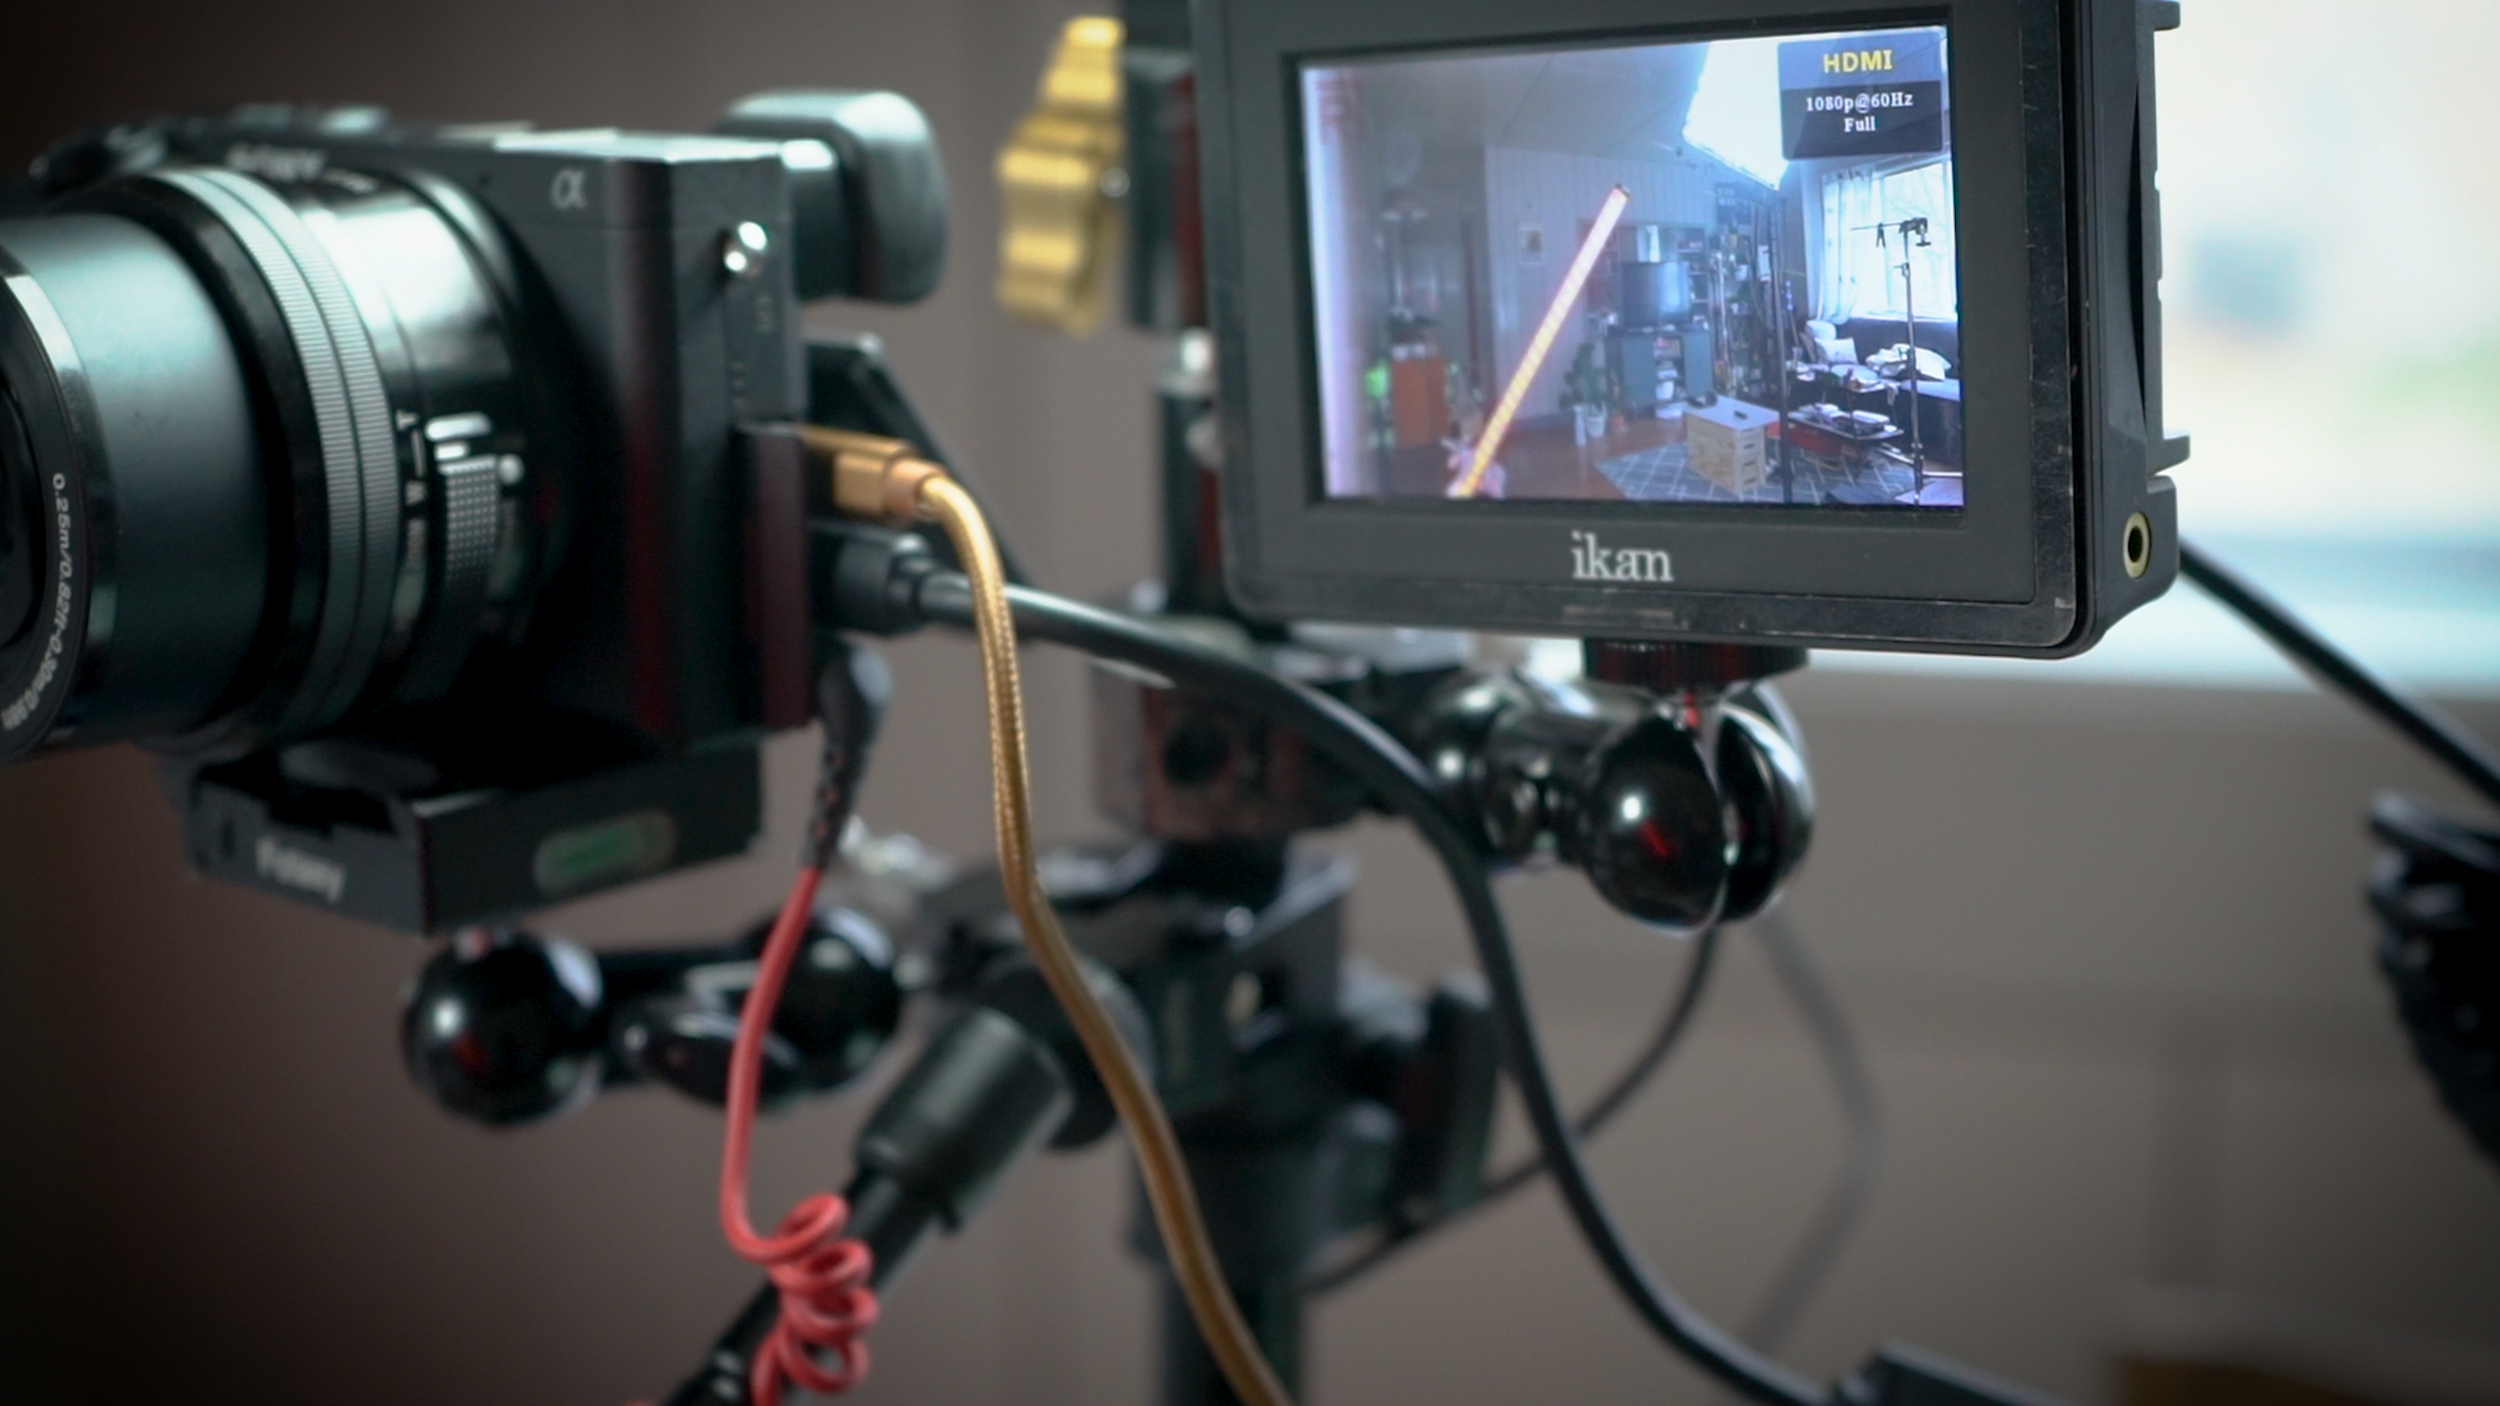
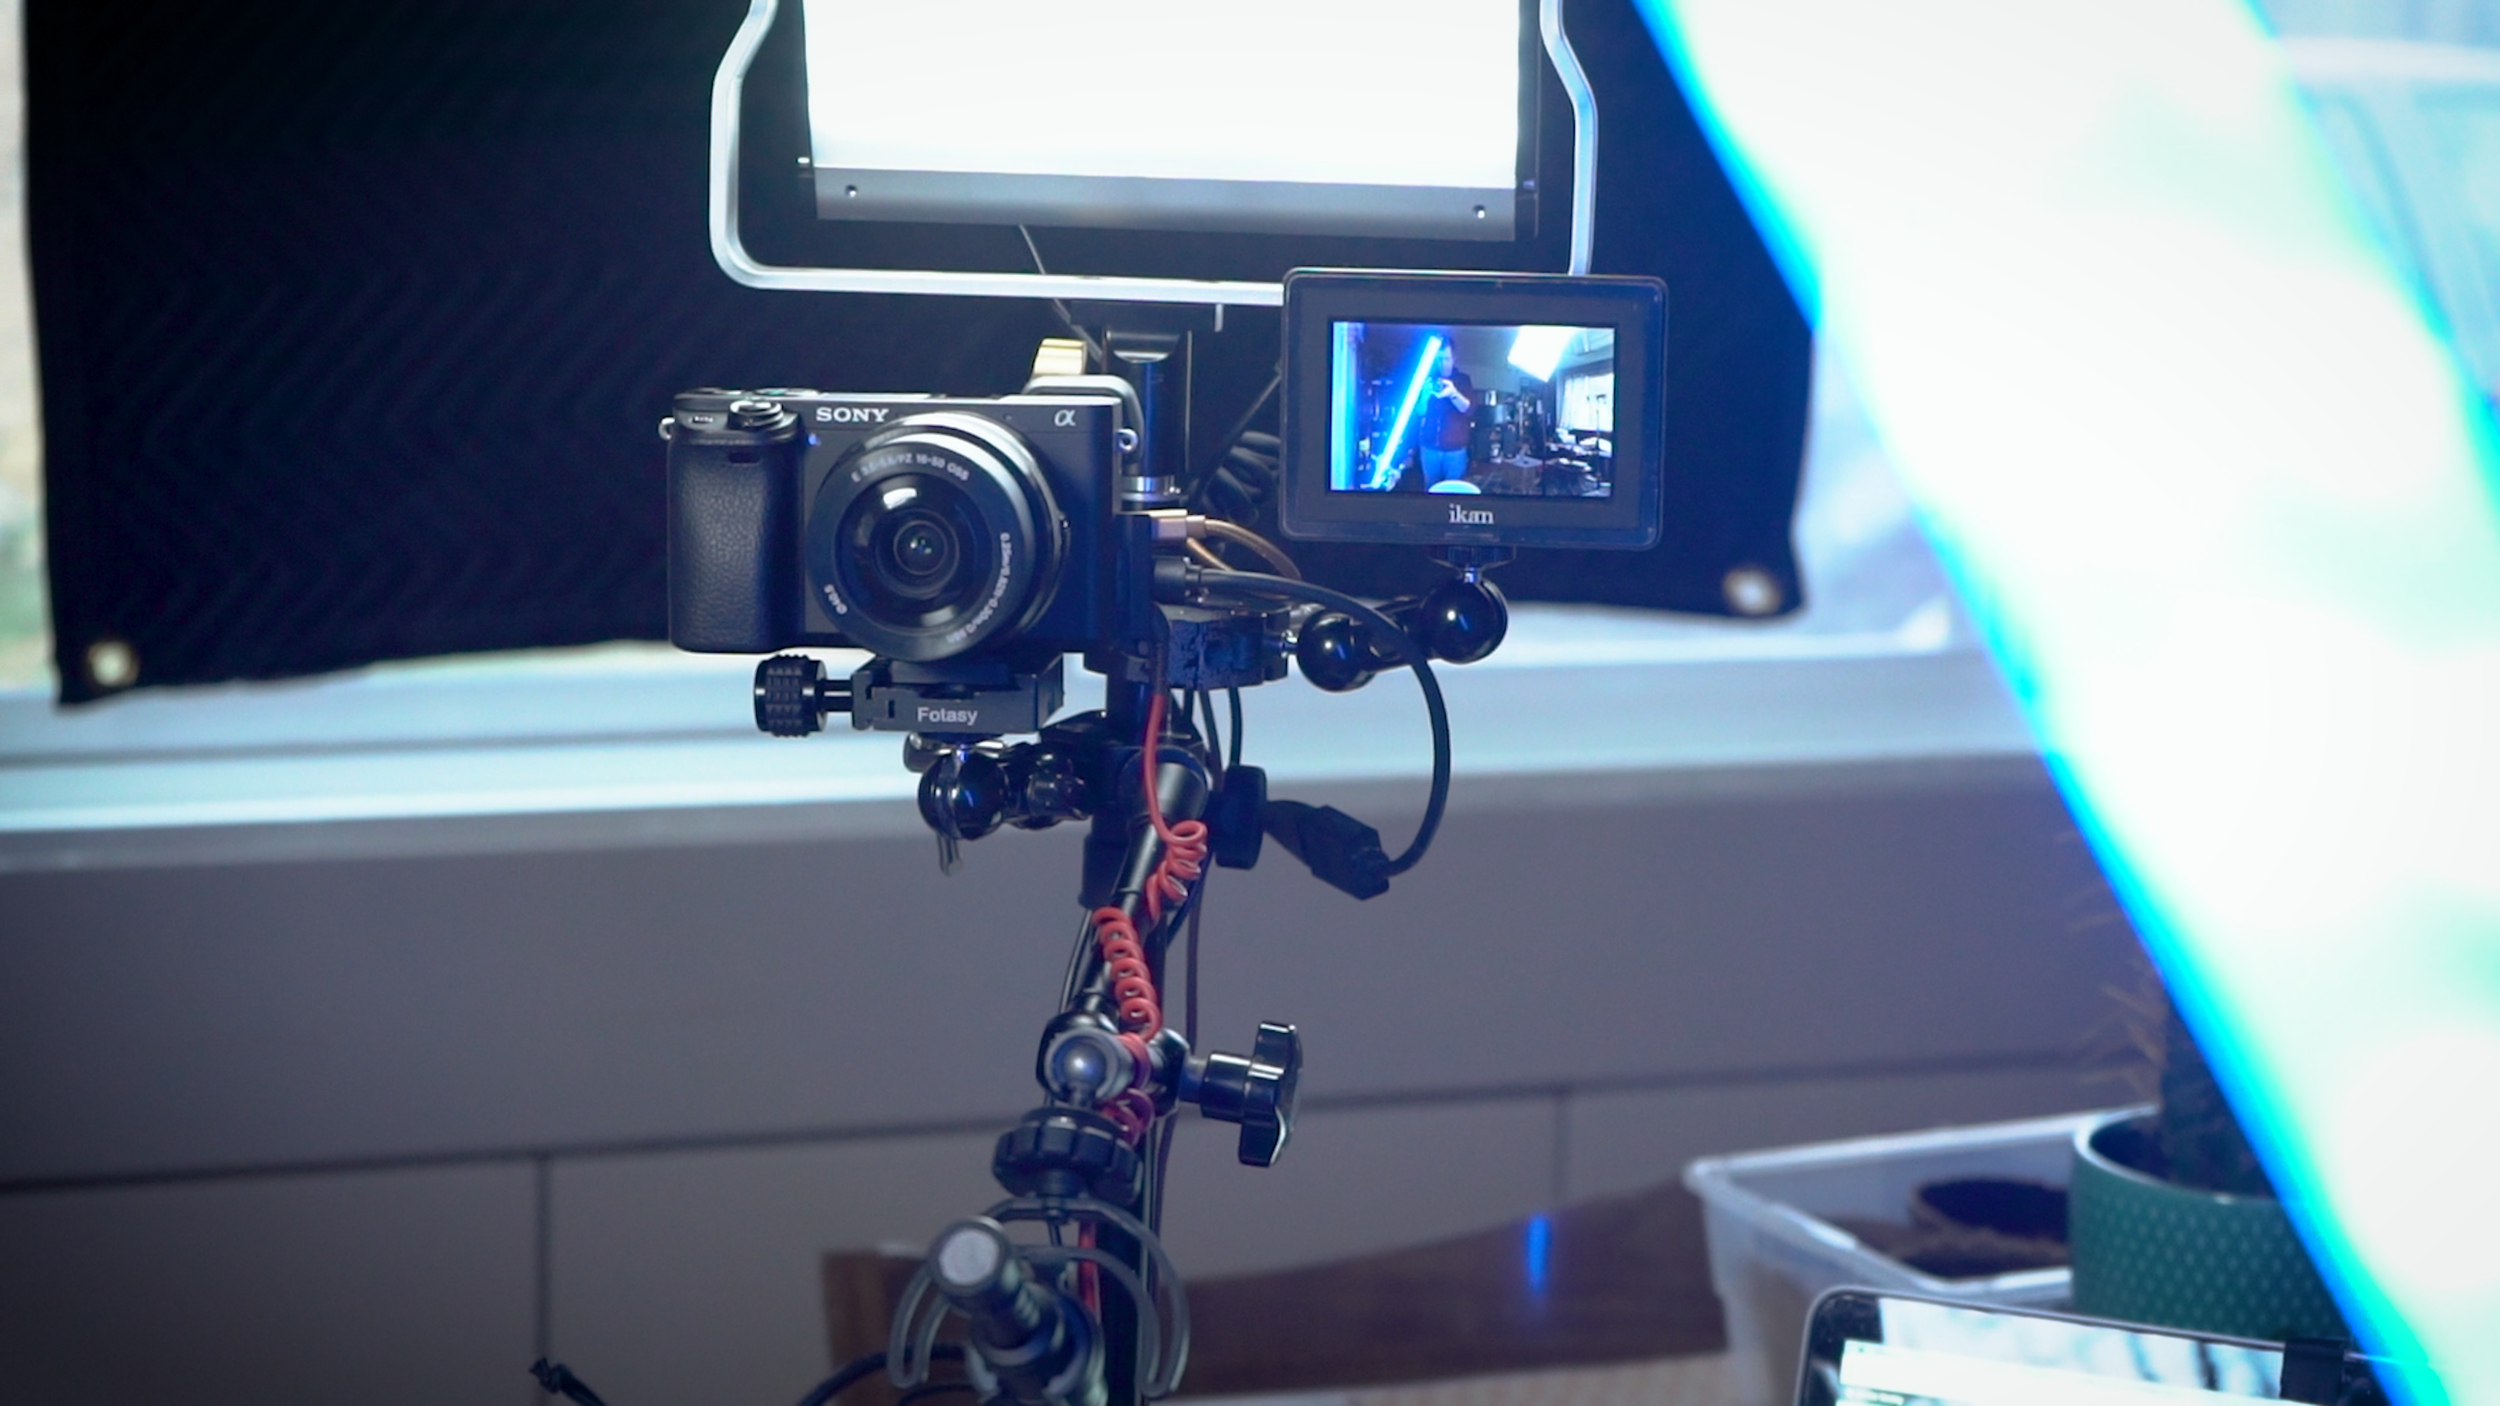
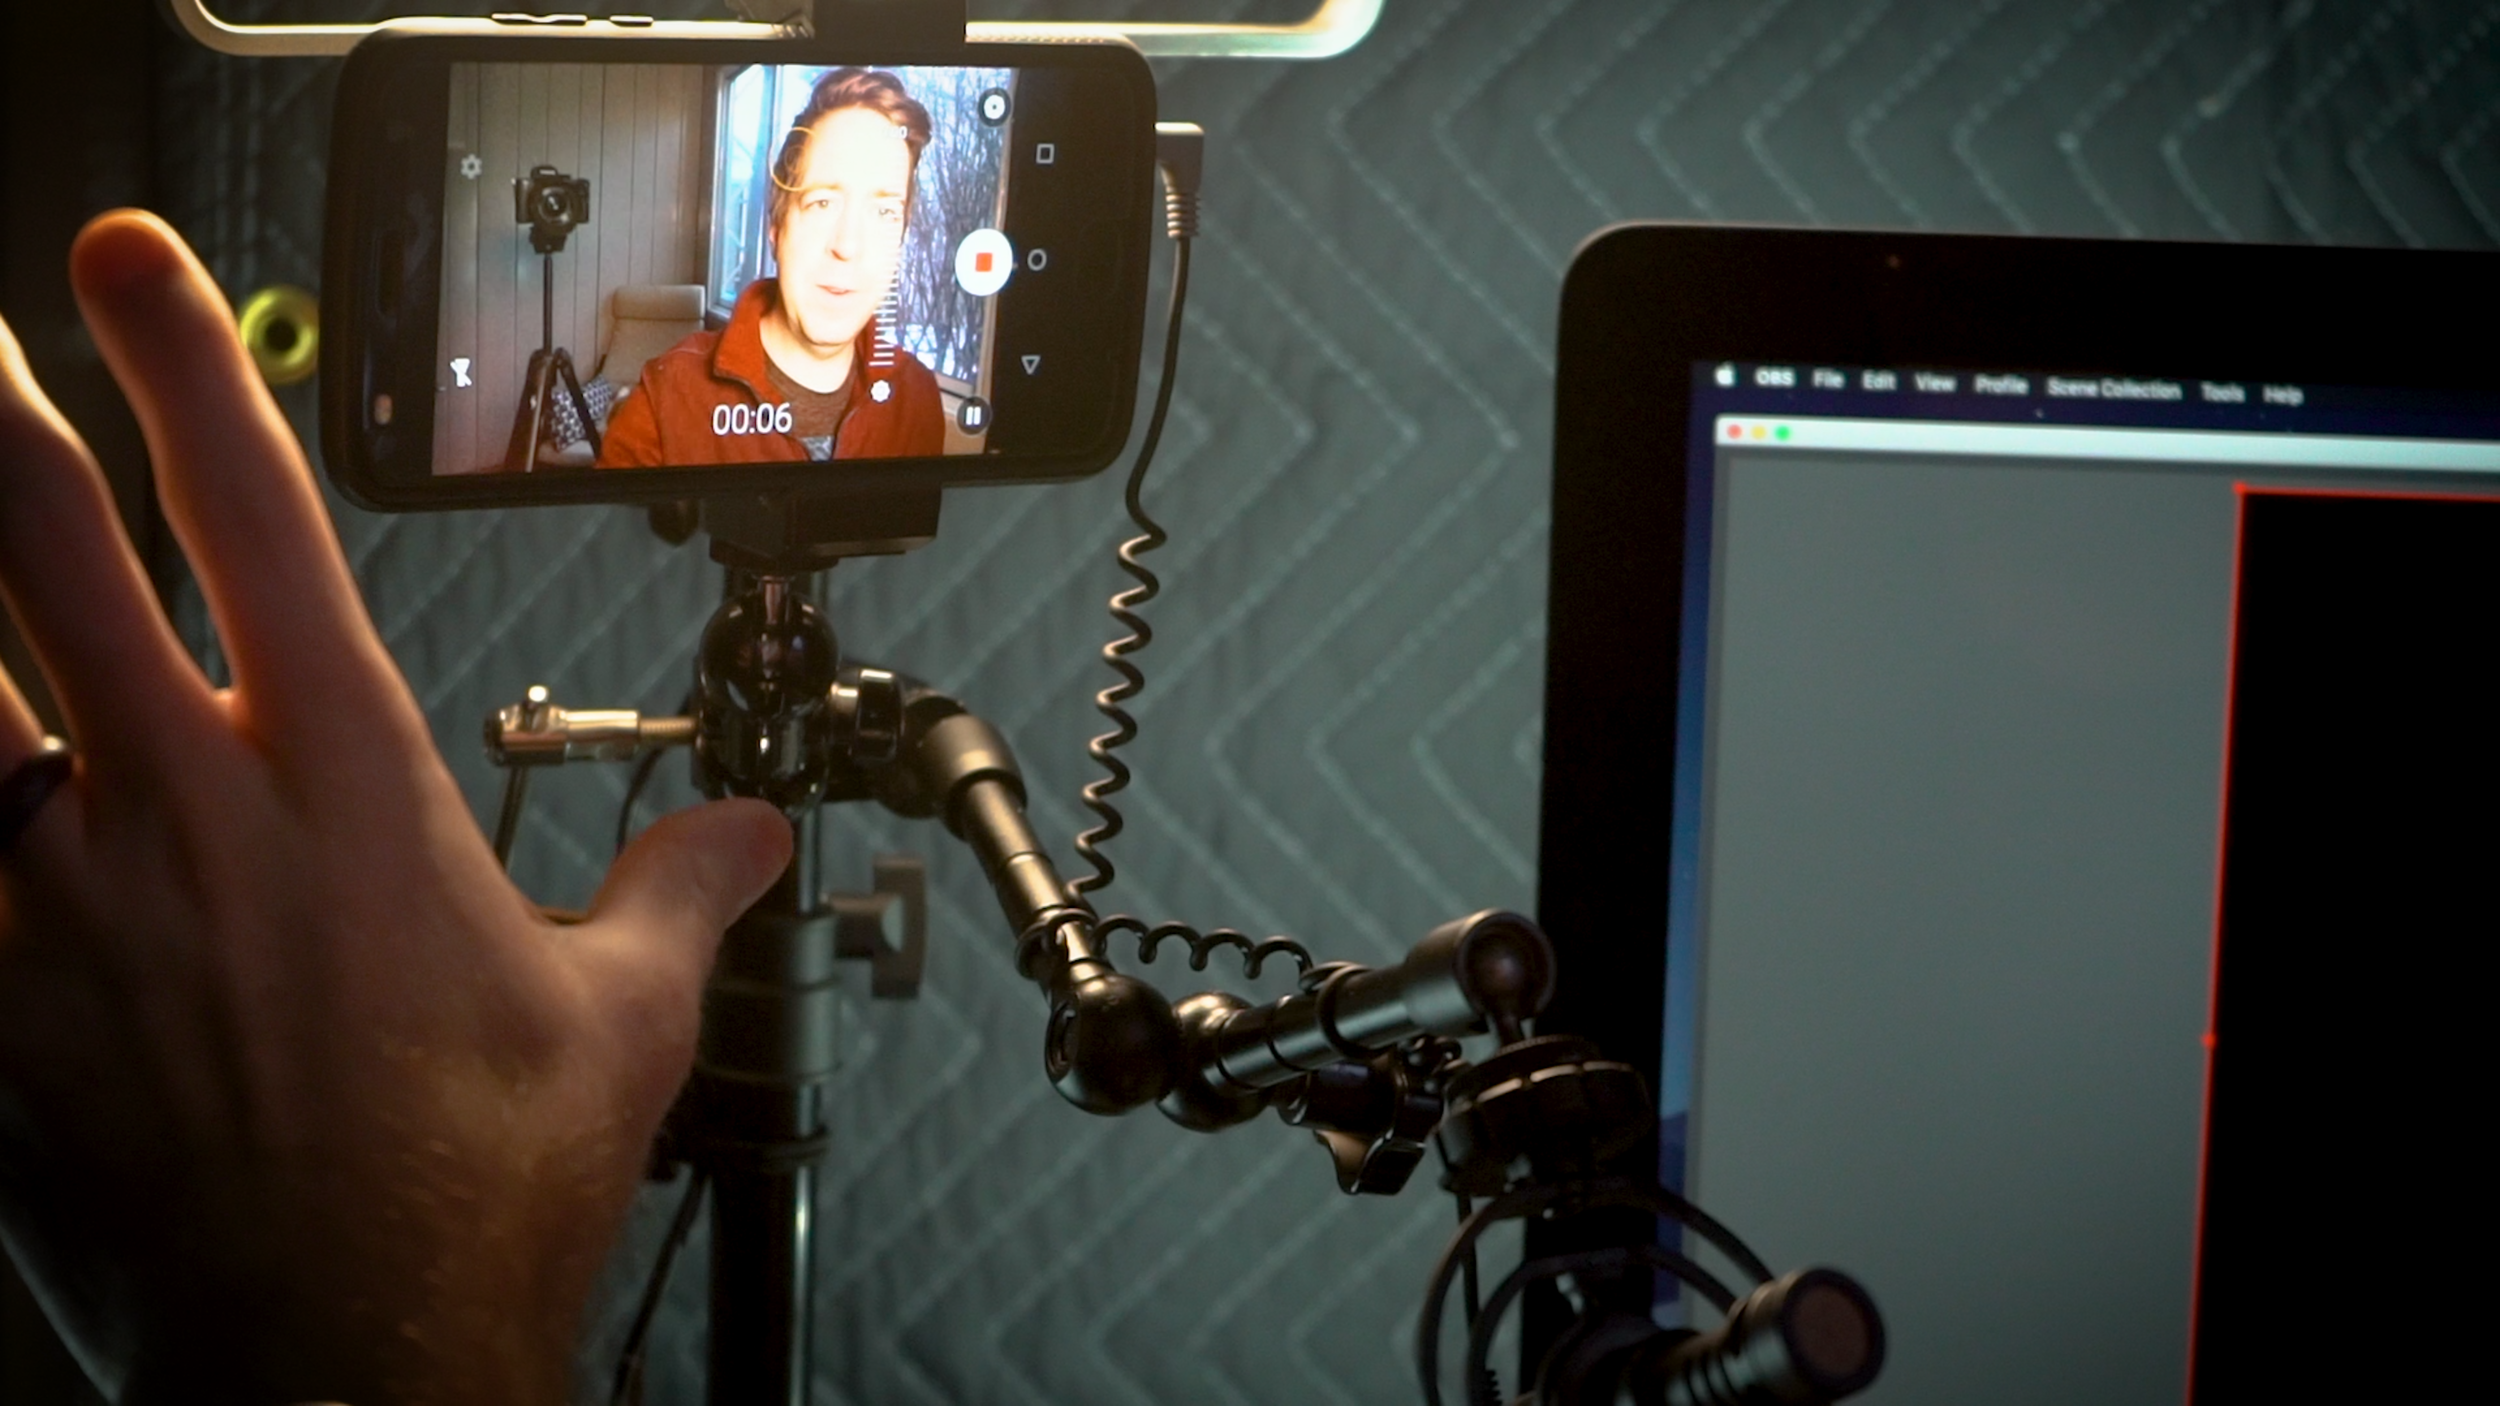
We’ll start the build with our little light stand, and literally everything else is going to be built ON this stand. To make sure this stays secured and doesn’t tip over we’ll drape our sandbag over one of the legs. Raise the top part of the stand up a few inches for right now, and clamp your SmallRig nanoclamp to it. Be sure this is on the top part of the stand, and give yourself a little room - I put mine about 5 or 6” from the top of the light stand. Screw in your 4” articulating arm that came with the clamp if you need to, and then in the other side we’ll want to use one of our little adapters and screw in the 11” articulating arm. Make sure these are positioned over one of the legs. At the top we’ll put our light on facing out over the arms. Now I bought this Neewer light a few years ago because I thought it might be a nice budget friendly version of a Dracast panel light that I have, and truthfully I found that it wasn’t as durable as I need for most of my freelance work so I only ever use it around my house or studio now. However, it’s a good, bright, inexpensive light with a high CRI and it’s bi-color and dimmable so you can fully adjust it based on where you’re filming. Now grab your camera and attach it to the smaller articulating arm, and position it just under the light, we can adjust the overall height of the stand later. You don’t need to but I added in an Arca Swiss adapter here - this allows me to attach and remove my camera quickly for filming b-roll without adjusting the arm each time. Now attach your microphone to the end of the longer articulating arm, here I’m using the Rode VideoMicro, but you could use whatever microphone you have, and then hook it up to your camera. Depending on what mic you have you might need to get a small extension cable. Once that’s done you should be ready to roll!
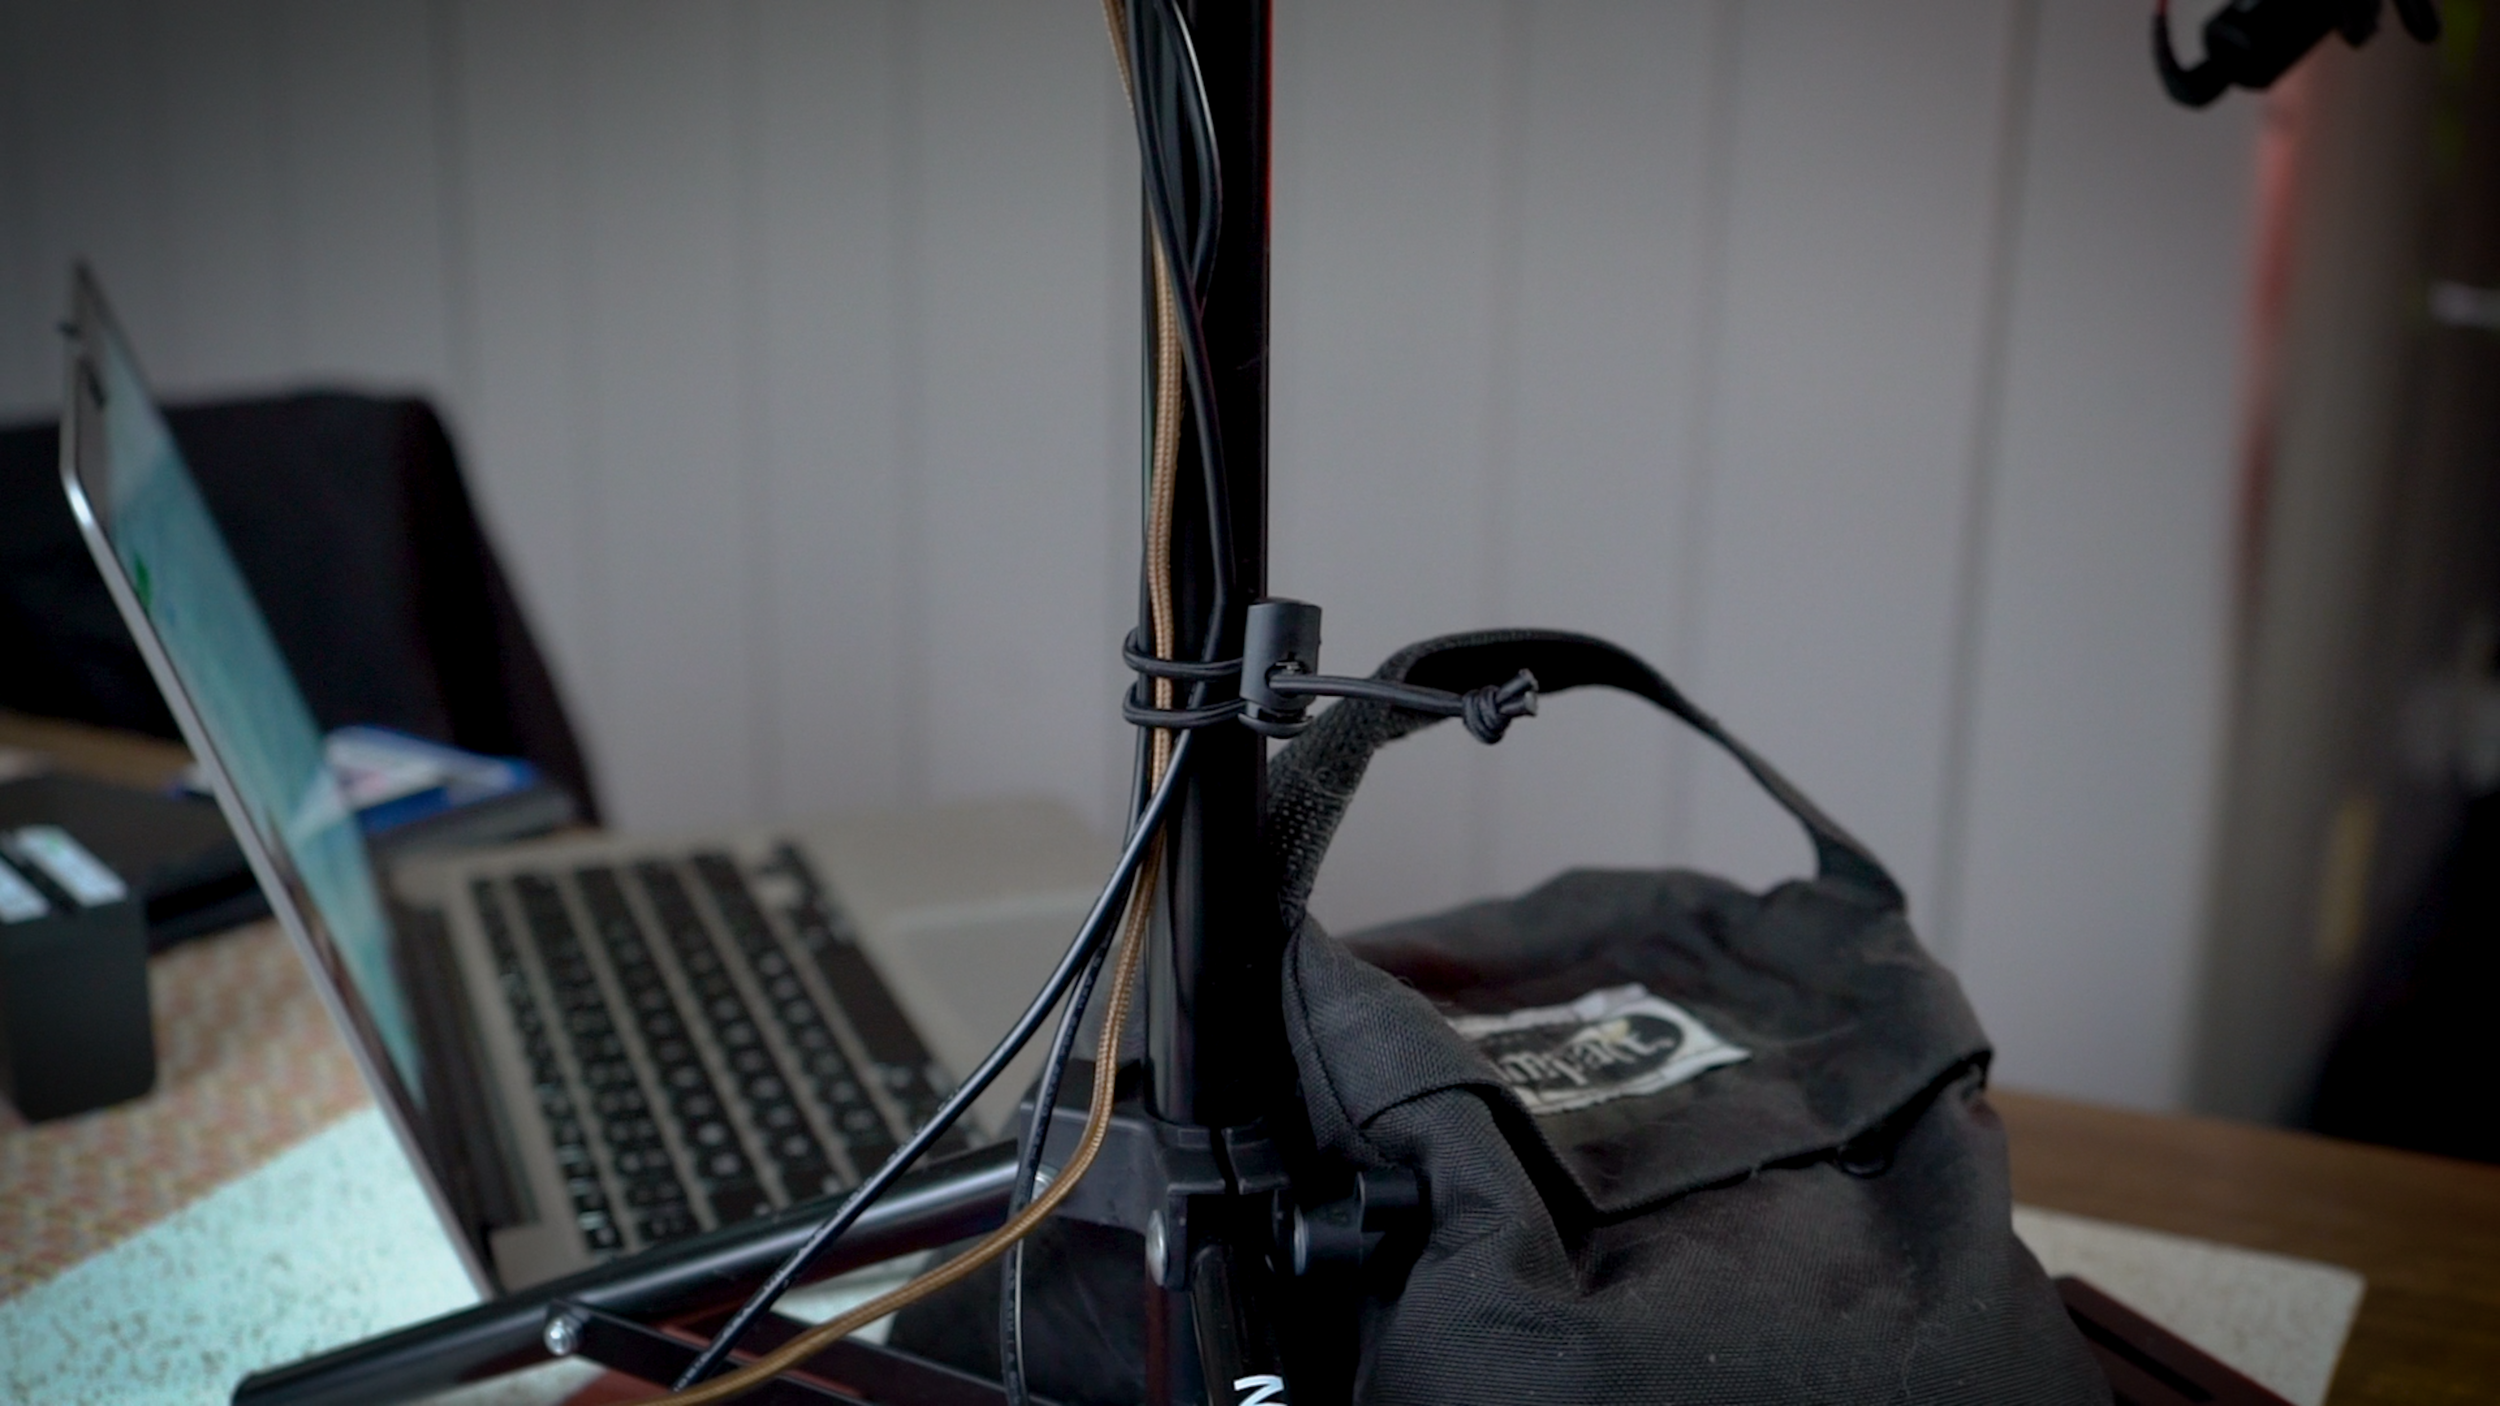
Now a couple of notes: My Sony a6300, which I film all my YouTube videos with, doesn’t have a flip up screen, so I’ve got a small external monitor here on another clamp and arm. Most newer cameras, like the Sony a6400 and a lot of the Panasonic and Canon models, have flip out or flip up screens though so you likely won’t need that, but if you do need an external monitor it will connect just like the camera and the microphone with a second nanoclamp and extension arm. While everything on the stand is battery powered you could easily plug everything in for some added reliability while filming, and in fact I usually power everything through an extension cord so I have one less thing to worry about when I’m making a video. To keep the setup clean all my cords are secured to the light stand with my DIY cable ties, and if you need everything can get folded up when not in use. This is an easy to use setup and can be moved around quickly - for me this was important since I regularly film in various places around my house or garage. You can very easily adjust the light stand up and down as needed based on your height, the height of your table or setup, and you could even run this setup directly into your computer for live-streaming, recording, or monitoring.
Overall this has been an absolute killer YouTube setup for me, and it has a lot of potential to be modified based on what or where I’m filming. Everything on this setup is fully adjustable, from the height of the stand, the position of the camera and microphone, and even the brightness and color temperature of the light.
So there you have it folks, a portable, one-stand, desktop YouTube setup for under $135. I hope at the very least you’ll find some inspiration in this video when you’re building your next YouTube setup. If you have any questions about this setup please let us know down below!


